Follow these steps to set it up successfully.
Step 1: Create the URL Language Field on Messaging Session
- Navigate to Setup in Salesforce.
- Search for and select Object Manager.
- Find and click on the Messaging Session object.
- Go to Fields & Relationships and click New.
- Create a new custom field:
- Field Type: Text
- Field Label: URL Language
- Field Name: URL_LANGUAGE (ensure it matches exactly for later steps)
- Length: Set an appropriate length (e.g., 10 characters for language codes like "en_US").
- Save the field and ensure it’s accessible to the necessary profiles.
Step 2: Configure Custom Parameters in Messaging Settings
- Go to Setup and search for Messaging Settings.
- Locate your Embedded Messaging channel and click Edit.
- Scroll to the Custom Parameters section.
- Add a new custom parameter:
- Parameter Name: URL_LANGUAGE
- Parameter Type: Select Text.
- Map the parameter to the URL_LANGUAGE field on the Messaging Session object (see Image 1 below for reference).
- Save your changes.

Image 1: Parameter Mappings Configuration
Step 3: Enable Pre-Chat in Embedded Service Deployment
- Navigate to Setup and search for Embedded Service Deployments.
- Select your deployment and click Edit.
- In the Pre-Chat section, check the box labeled Activate the pre-chat feature.
- Save your changes.
Step 4: Add Hidden Pre-Chat Field
- In the same Embedded Service Deployment settings, scroll to Hidden Pre-Chat Fields.
- Click Add or Edit to configure a hidden field.
- Select the URL_LANGUAGE field from the list (see Image 2 below for reference).
- Save your changes.
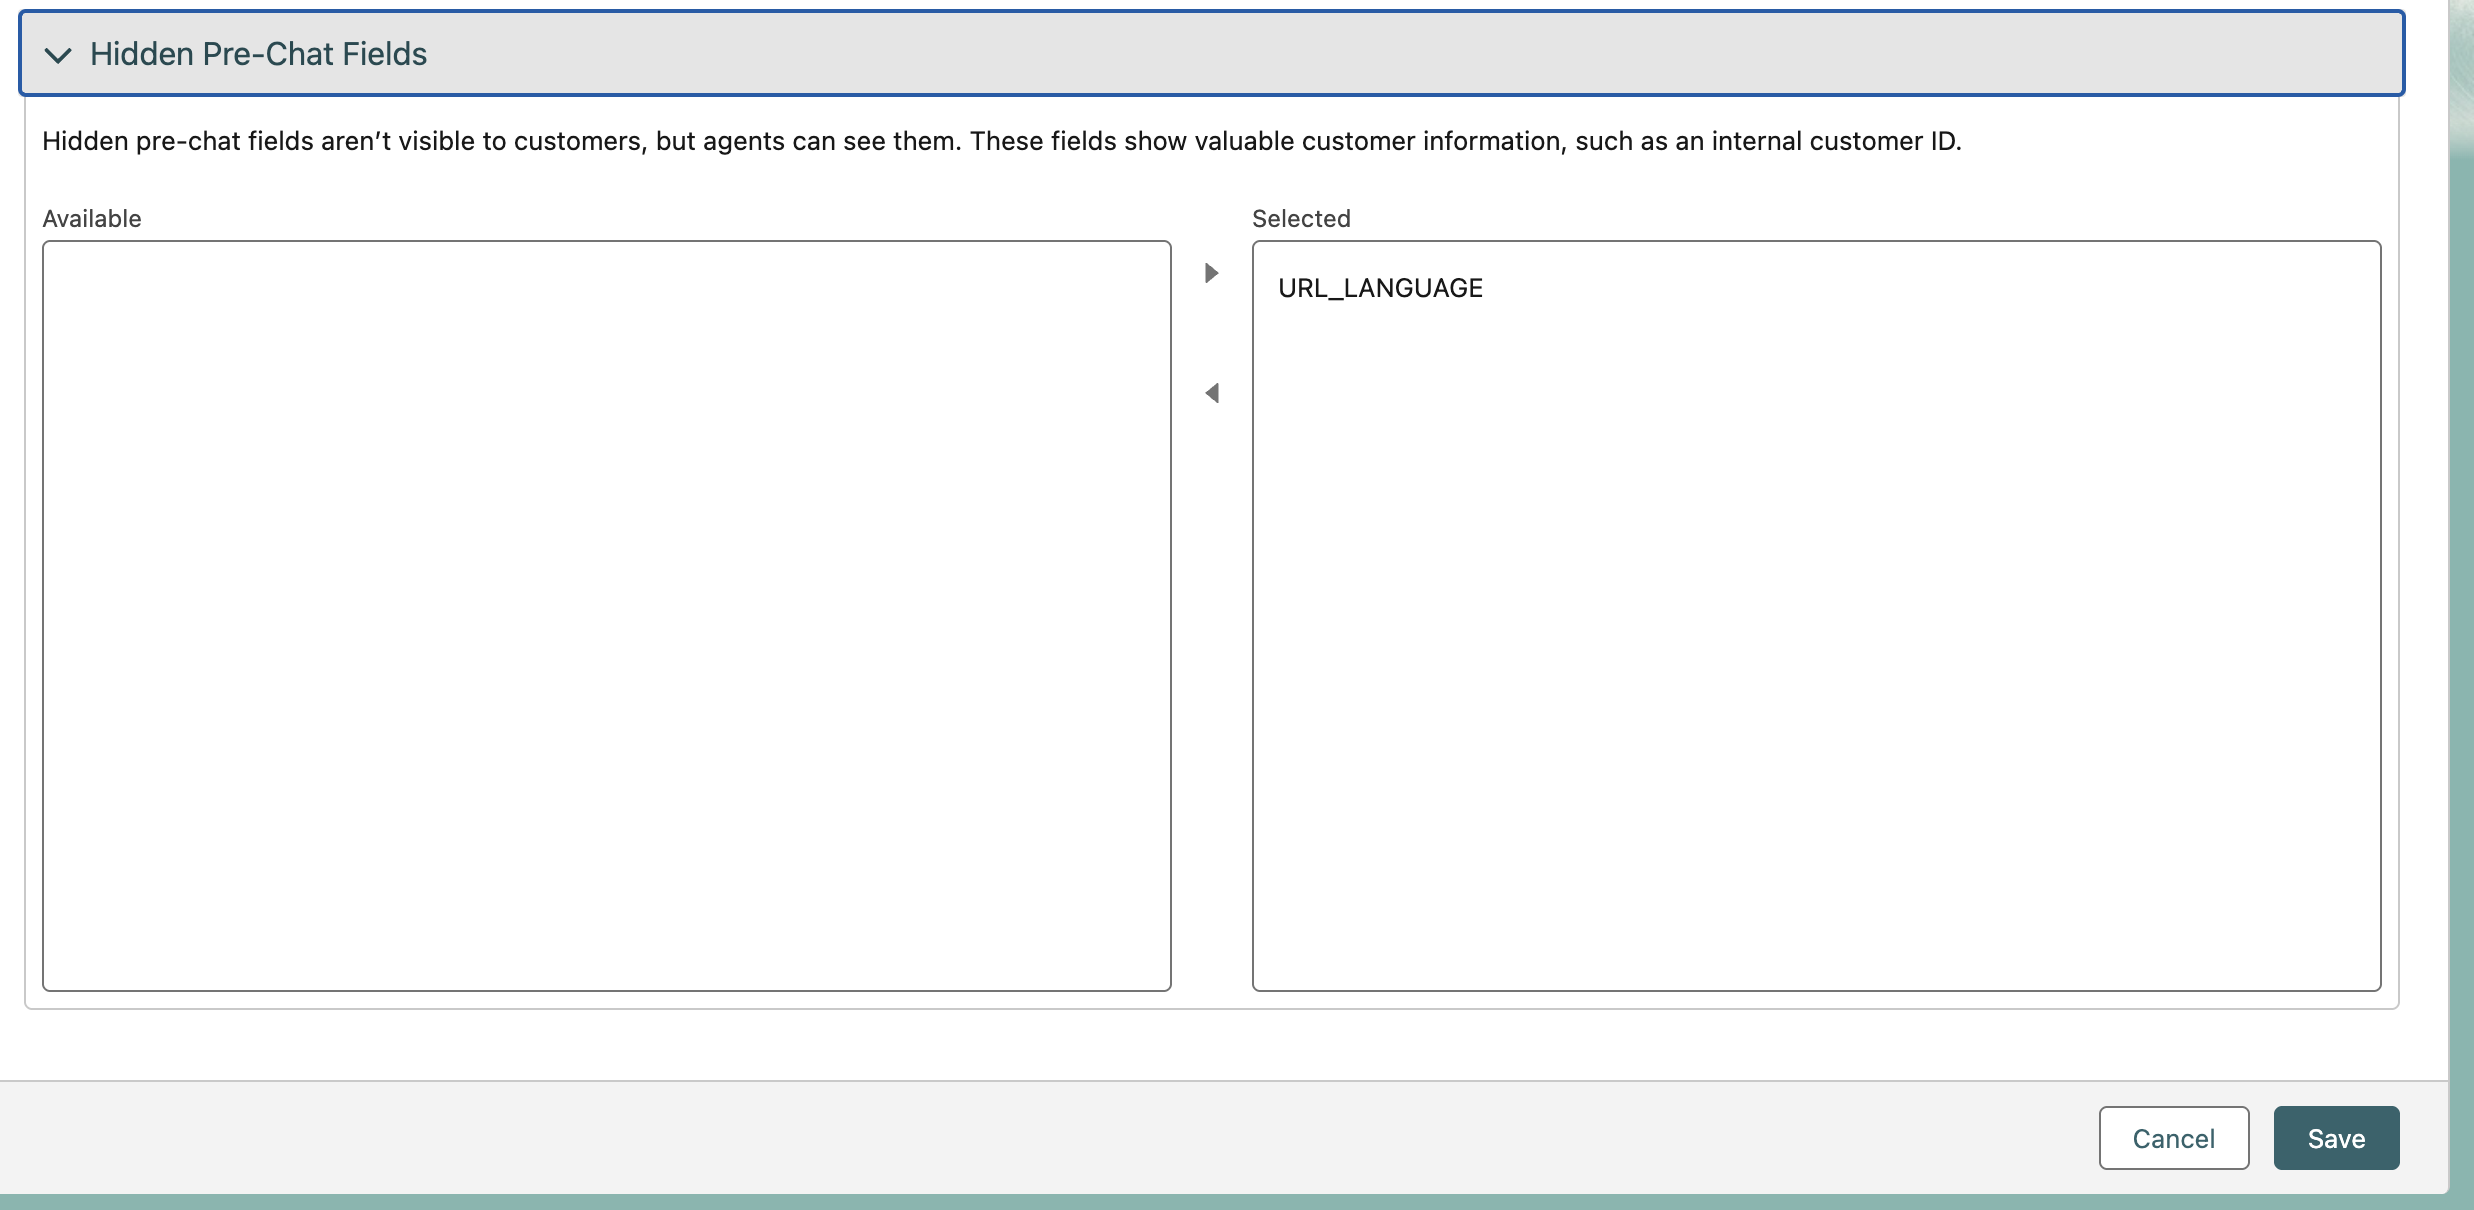
Image 2: Hidden Pre-Chat Fields Setup
Step 5: Re-Publish the Embedded Service Deployment
- Return to the Embedded Service Deployments page.
- Select your deployment and click Publish.
- Confirm the re-publishing to ensure all changes take effect.
Step 6: Modify the Omni-Channel Flow
- Go back to Messaging Settings and locate your messaging channel.
- Find the associated Omni-Channel Flow and click to edit it (this is typically linked under the messaging setup).
- Update the flow to ensure the URL_LANGUAGE field is captured and stored in the Messaging Session record (see Image 3 below for reference).
- Example: Add an Assignment element to set the Messaging Session’s URL_LANGUAGE field based on the pre-chat input.
- Save and activate the updated flow.
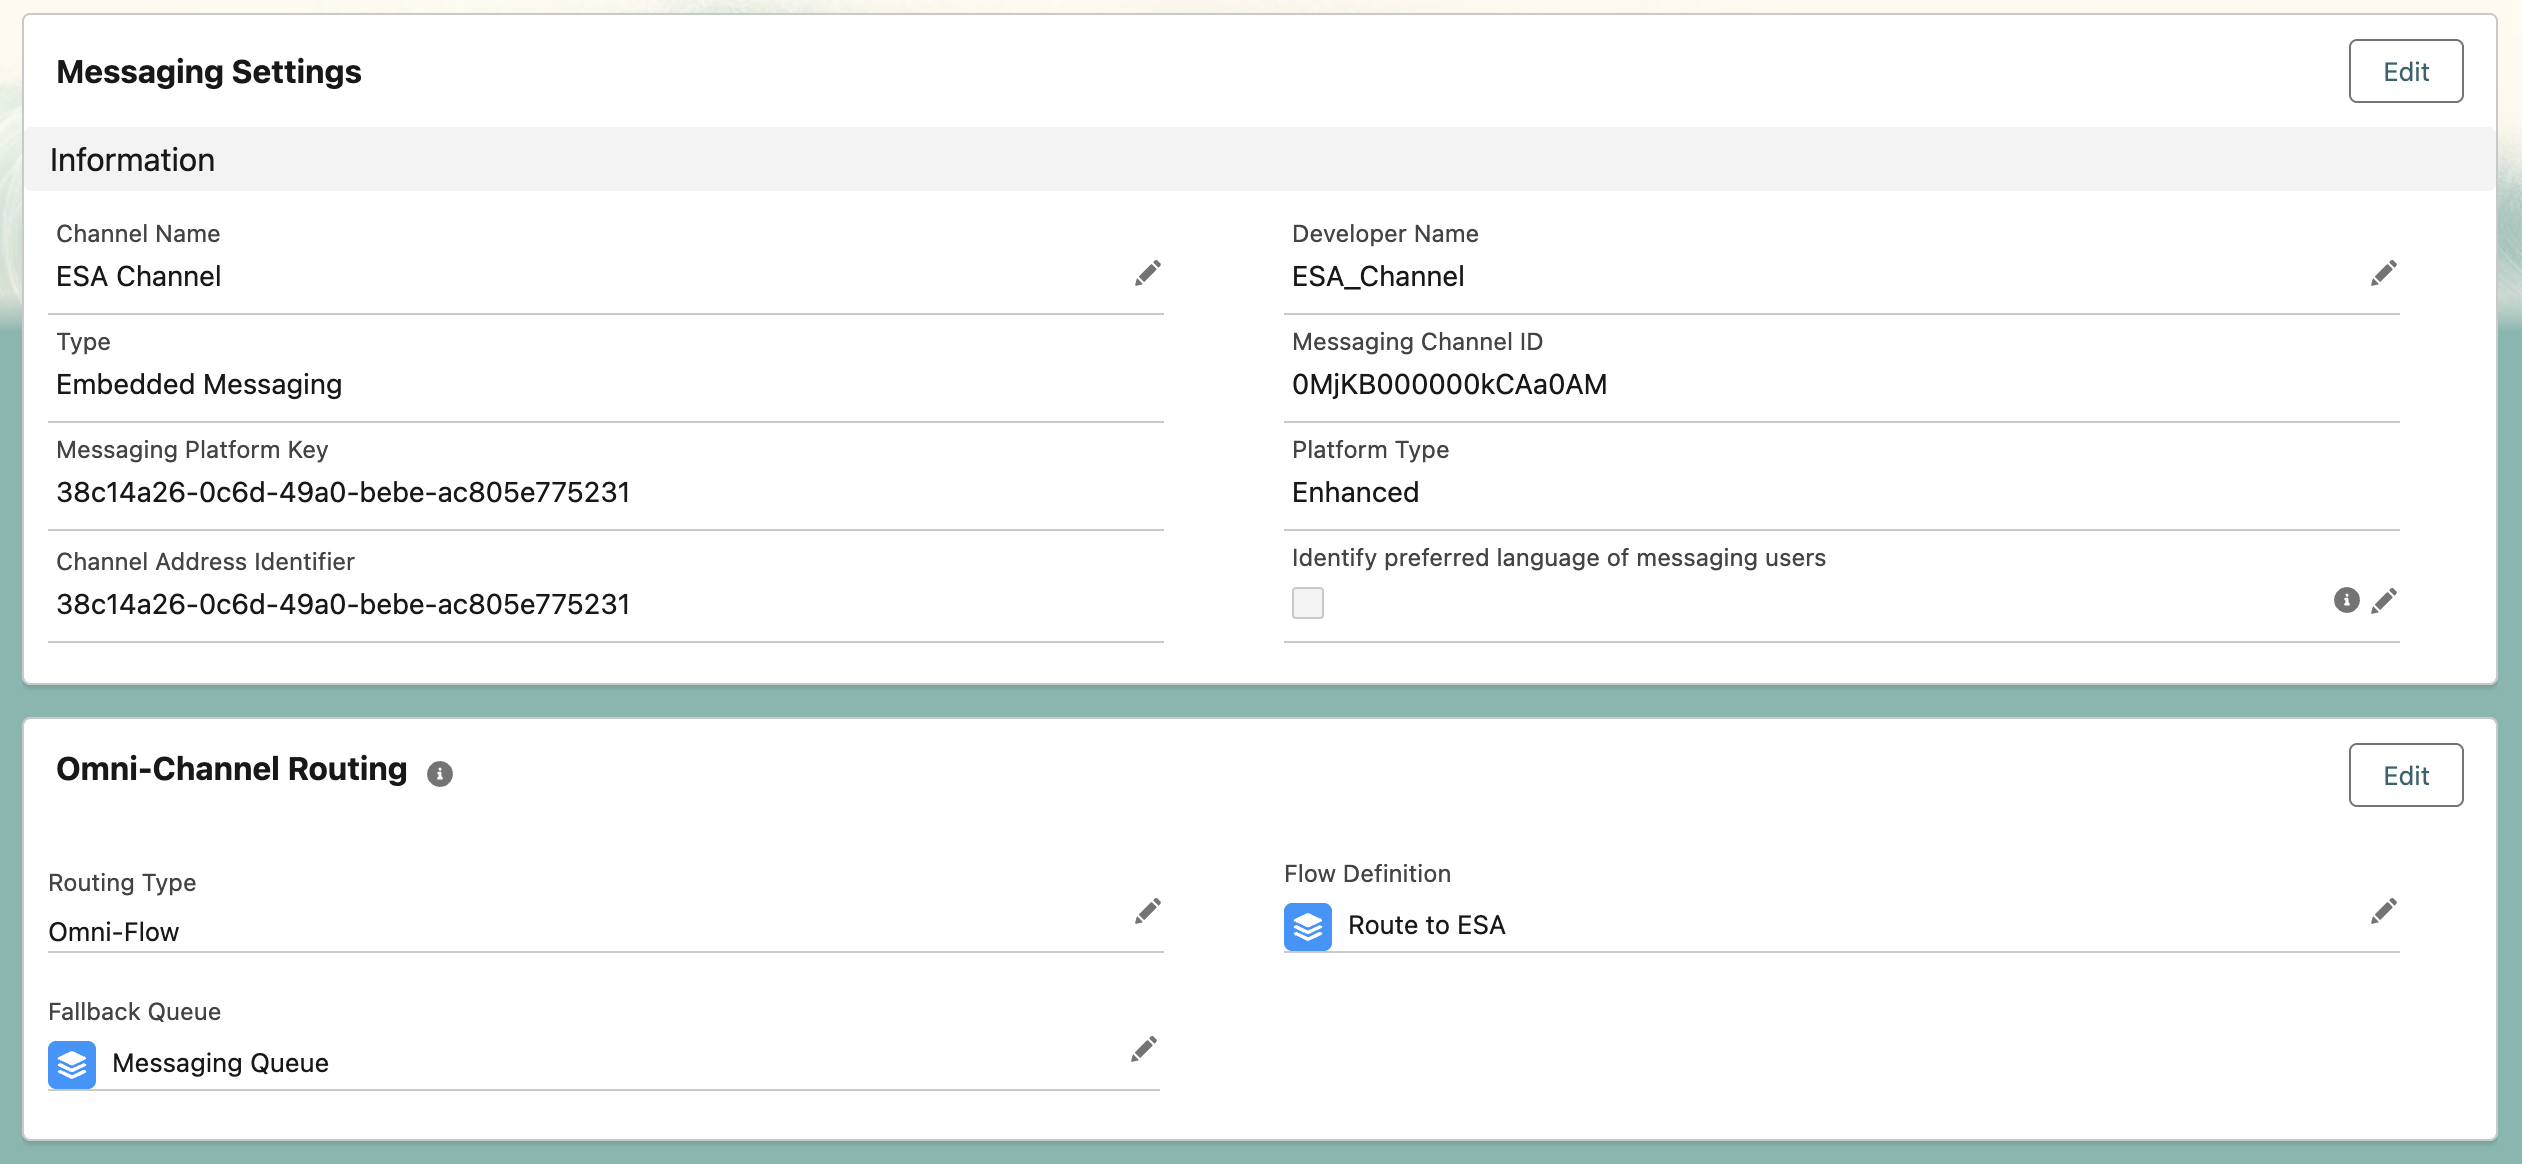
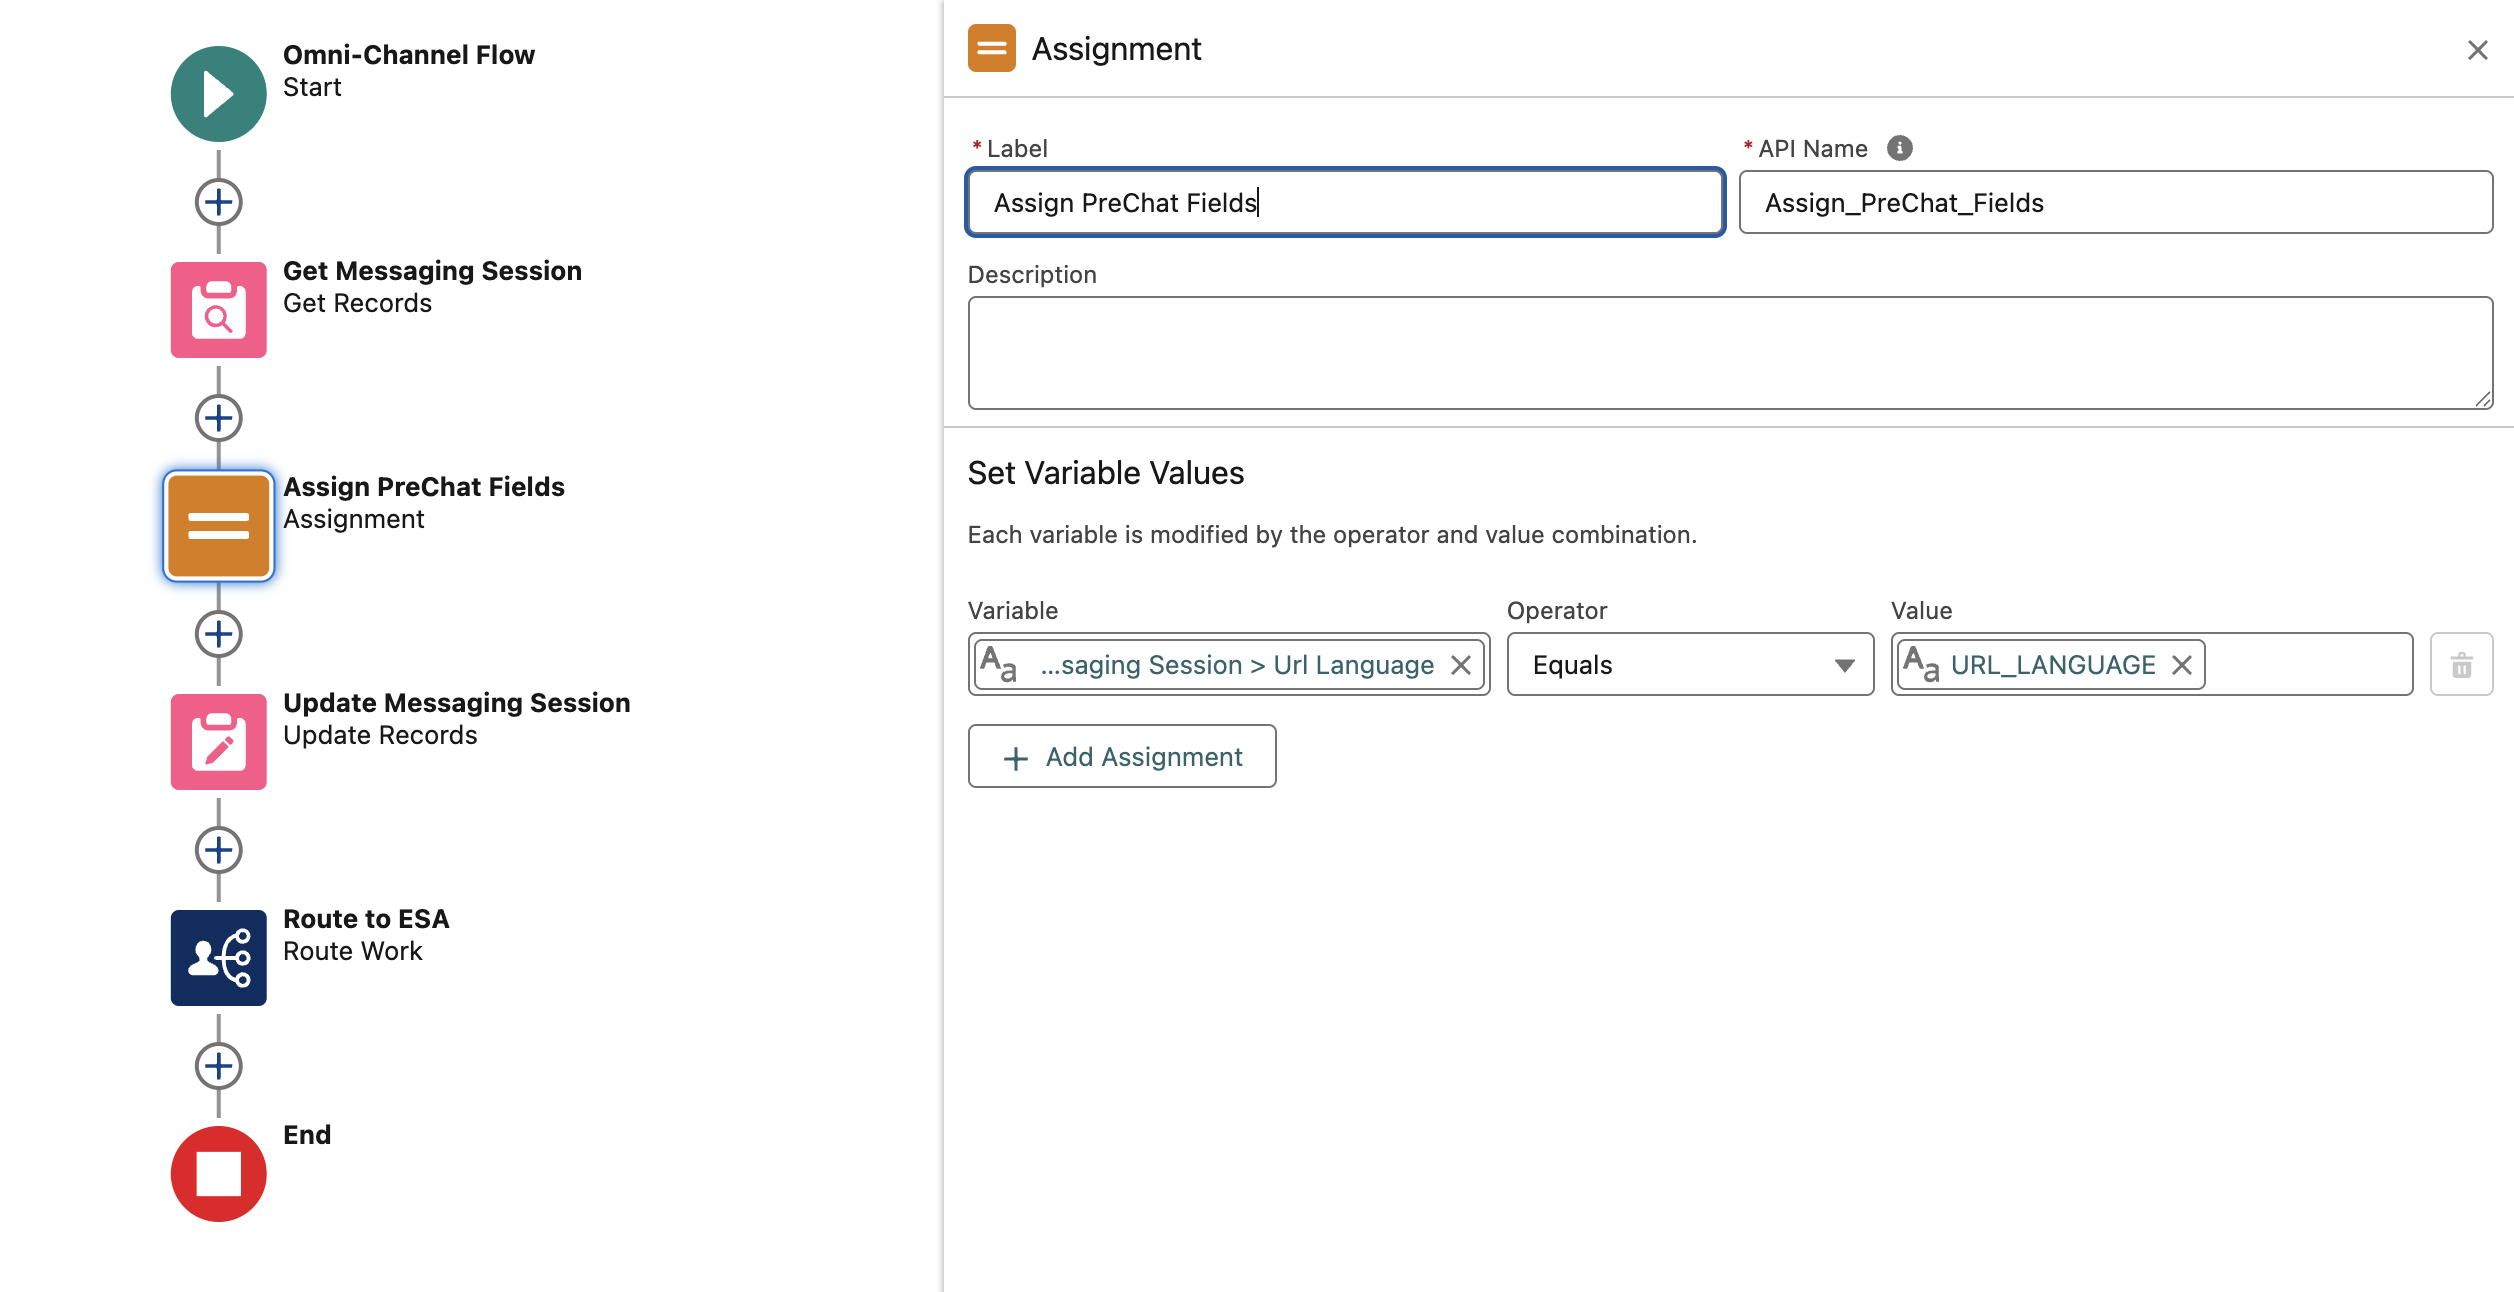
Image 3: Omni-Channel Flow Update
Step 7: Add JavaScript Code to Digital Experiences
- Navigate to Digital Experiences > Builder.
- Open the site where Embedded Messaging is deployed.
- Go to Settings > Advanced.
- Click Edit Head Markup.
- Add the following JavaScript code to pass the URL_LANGUAGE value:
window.addEventListener("onEmbeddedMessagingReady", () => { embeddedservice_bootstrap.prechatAPI.setHiddenPrechatFields({ "URL_LANGUAGE": "en_US" }); });- Save and publish the changes to your Digital Experience site.
Note: Replace "en_US" with the desired language code or dynamically populate it based on your site’s logic (e.g., using a variable).
Step 8: Test the Configuration
- Visit your website where the Embedded Messaging chat button is deployed.
- Click the Chat button to initiate a session.
- In Salesforce, navigate to the Messaging Sessions tab and open the newly created session record.
- Verify that the URL_LANGUAGE field is populated with the value "en_US" (or the value you specified).
Troubleshooting Tips
- Field Not Populating? Ensure the URL_LANGUAGE field name matches exactly across all configurations (case-sensitive).
- Chat Not Loading? Double-check that the Embedded Service Deployment is published and the JavaScript code is correctly added to the Head Markup.
- Flow Issues? Test the Omni-Channel Flow in a sandbox environment to confirm the field assignment works as expected.



Loading...