1. Create Enhanced Einstein Bot
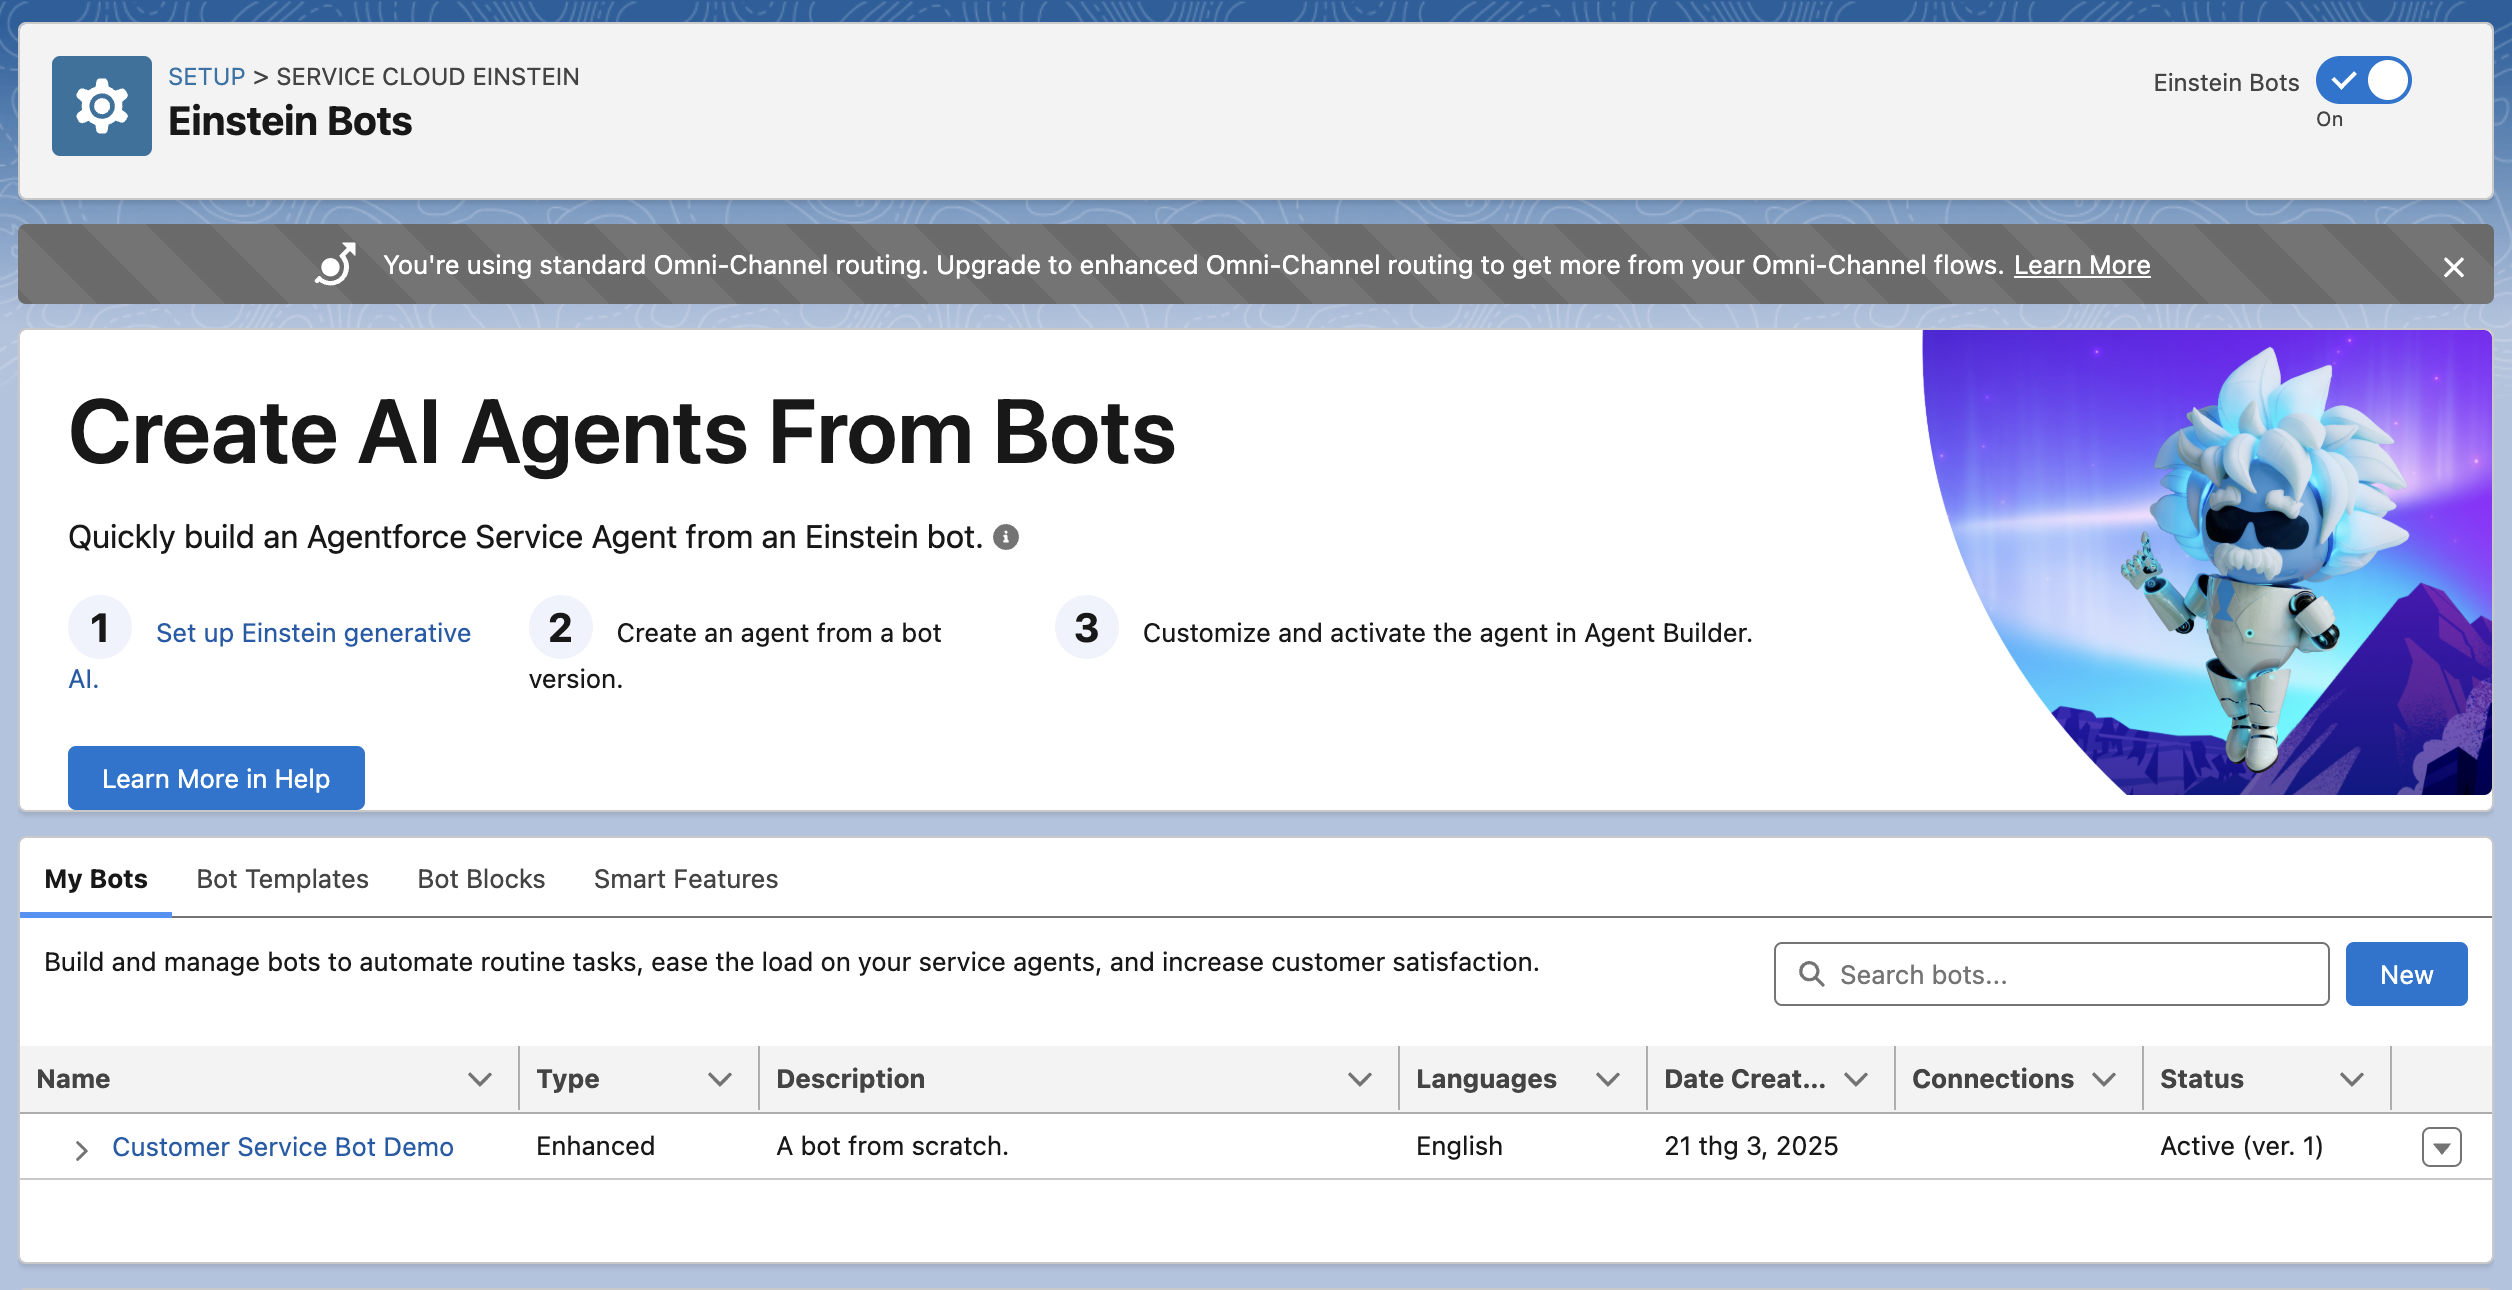
Before embedding the bot, ensure that you've already created an Enhanced Einstein Bot. If you haven't done so, follow these steps:
- Login to Salesforce: Log in to your Salesforce instance.
- Navigate to Einstein Bots: In the Salesforce Lightning Experience, go to the Setup page and search for “Einstein Bots” in the Quick Find box.
- Create a New Bot: Click on the "New Bot" button and configure your bot’s settings, such as name, greeting, and bot response capabilities. You can set up predefined dialogues, responses, and actions depending on your use case.
- Test the Bot: After configuring the bot, test it to ensure it’s working as expected before moving forward.
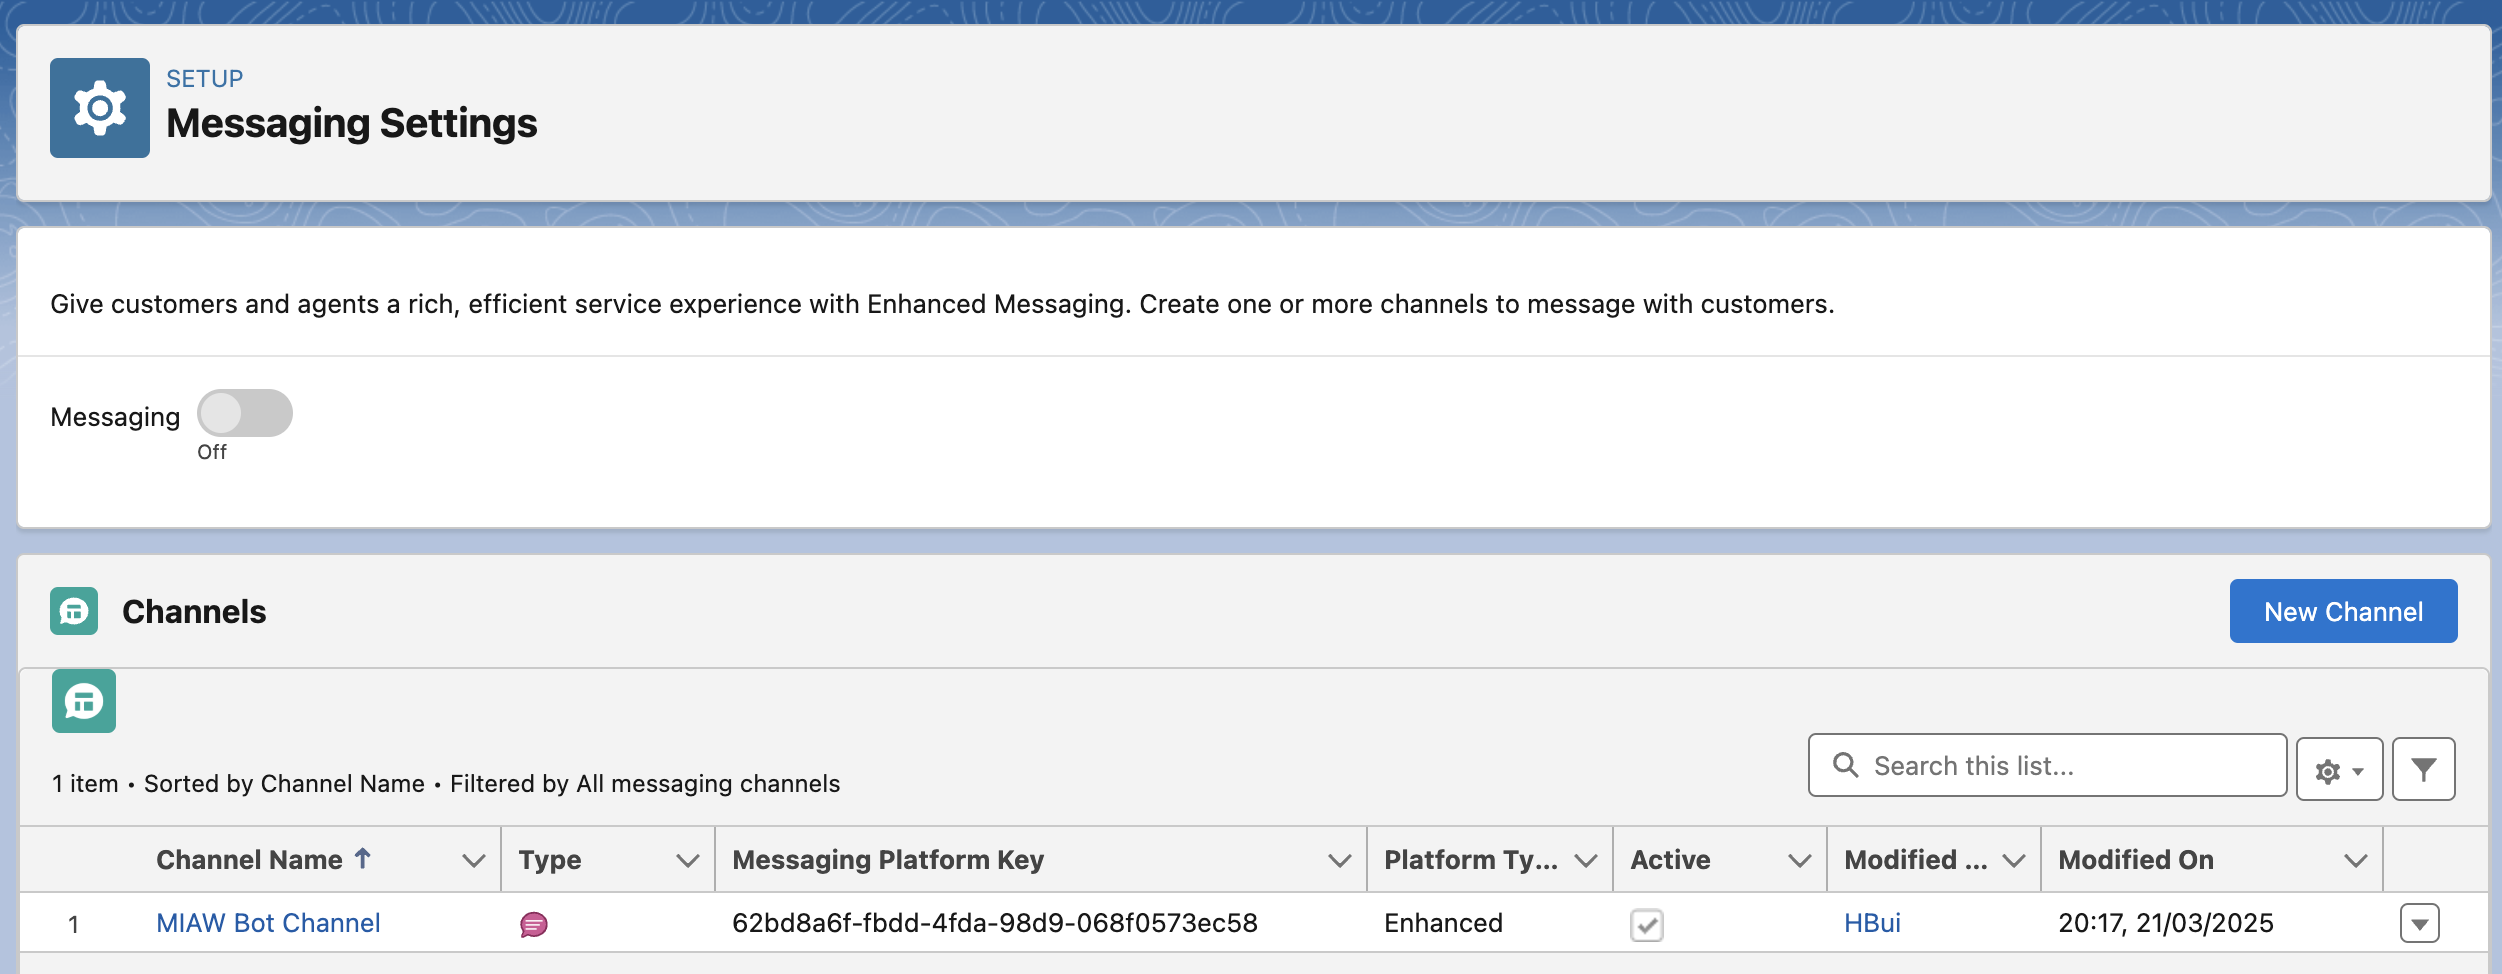
2. Create Messaging Settings
Next, set up messaging settings so that your bot can handle live interactions.
- Go to Setup and search for "Messaging Settings."
- Configure your messaging channels (SMS, web chat, etc.), ensuring that Einstein Bot is properly linked to the correct messaging service.
- Ensure that all communication channels are set up for the bot to operate seamlessly across different touchpoints, like your website.
3. Create Embedded Service Deployment and Publish
To embed the Einstein Bot button on your website, you’ll need to create an Embedded Service deployment.
-
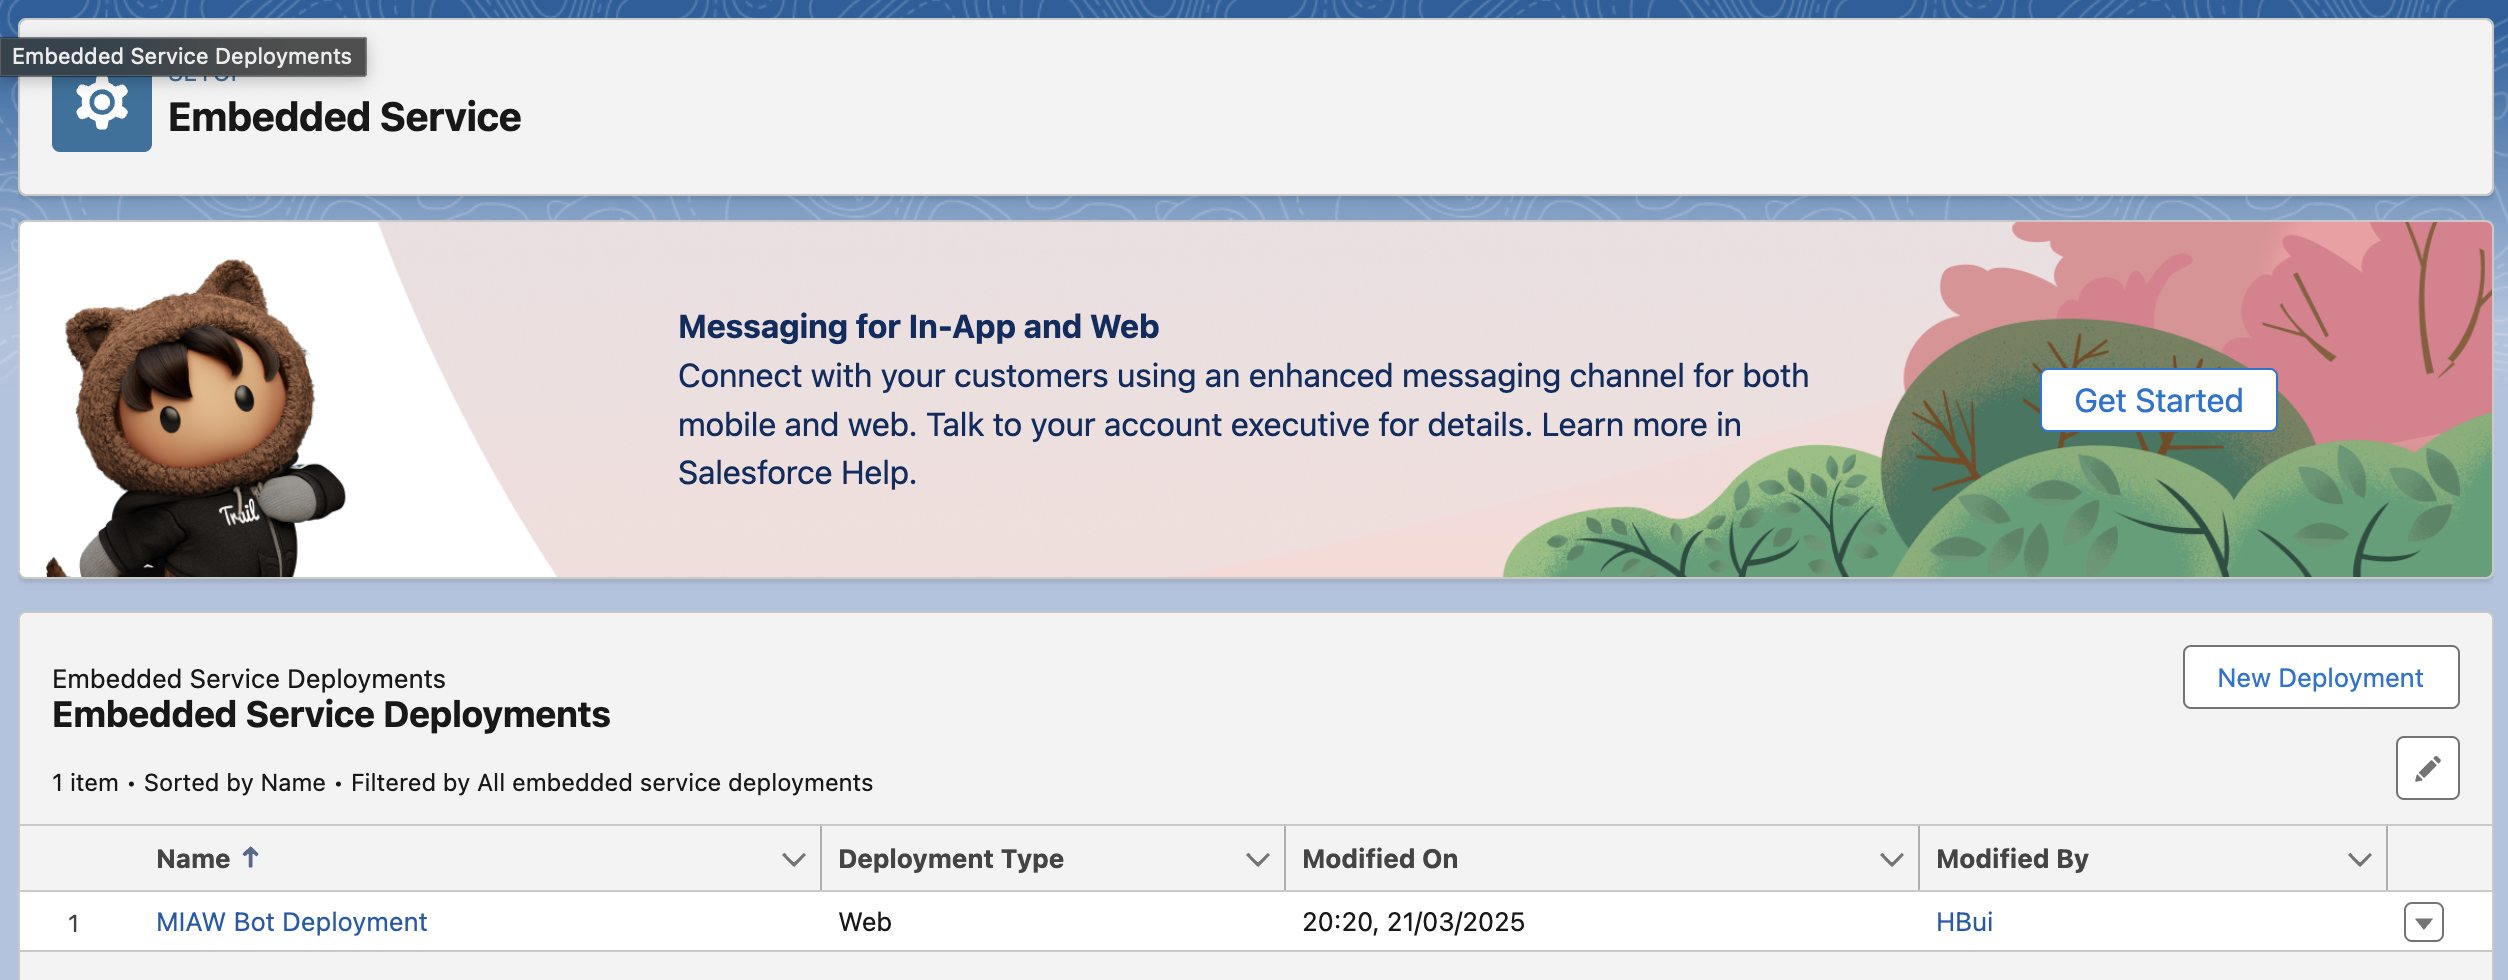
Go to Embedded Service: In Salesforce Setup, search for "Embedded Service" and select Embedded Service Deployments.
-
Create New Deployment:
- Click on New Deployment and follow the prompts to set up the deployment.
- You’ll be asked to select the type of service you want to deploy. Choose "Einstein Bot" as the deployment type.
- Configure additional settings like the bot’s name, branding, and deployment options.
-
Publish the Deployment: After configuring the settings, click on Publish to make the deployment live.
4. Add Domain URL on Settings ⇒ CORS
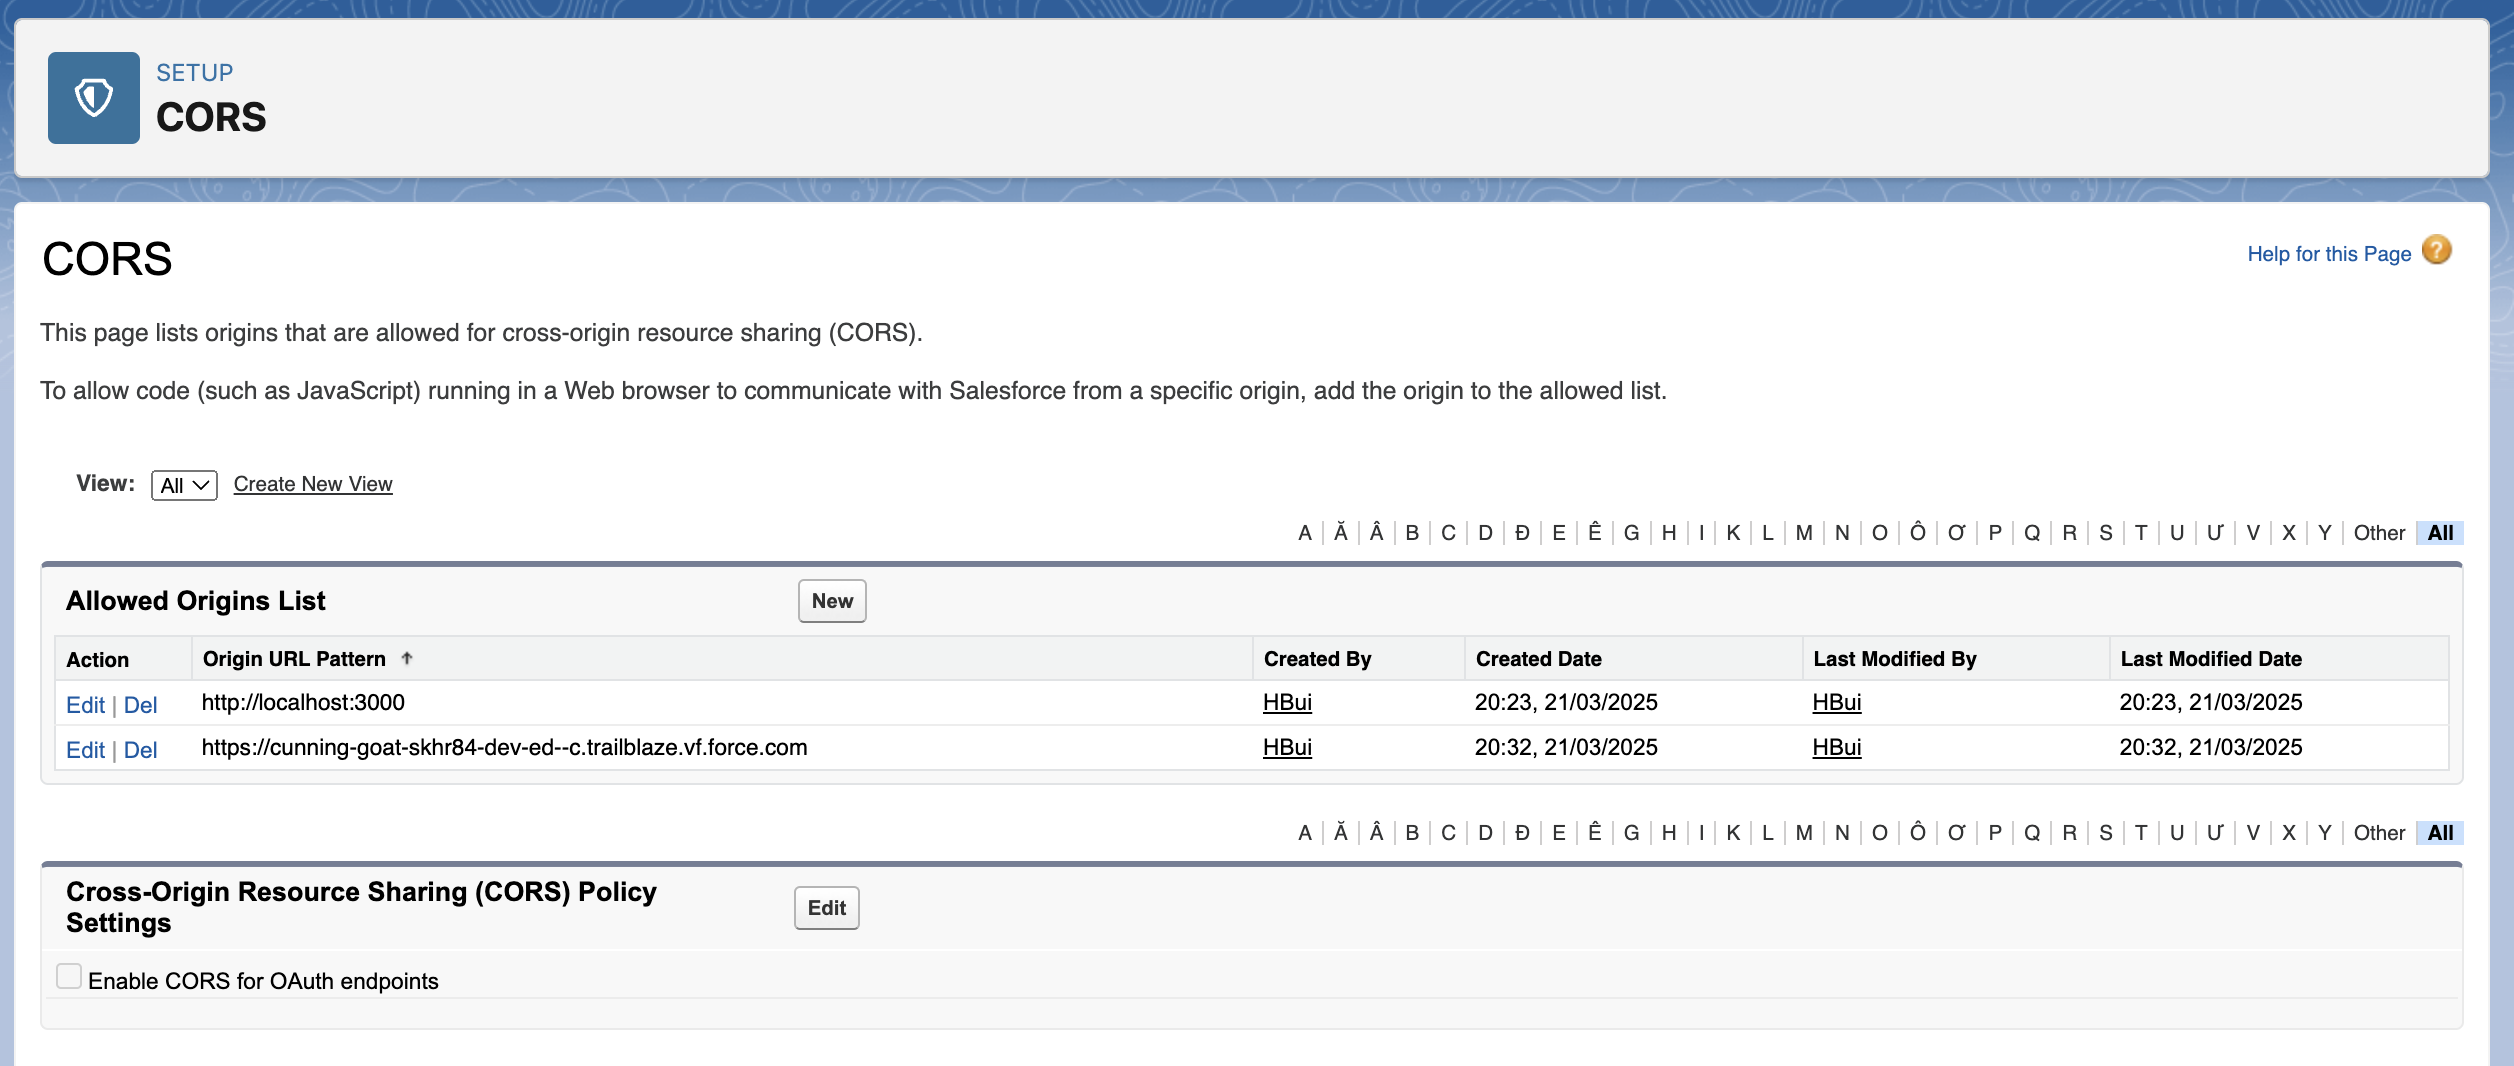
Now that you’ve set up the deployment, ensure that the correct domain URL is added in the CORS (Cross-Origin Resource Sharing) settings to avoid any security restrictions when embedding the bot.
- Go to Setup and search for "CORS" in the Quick Find box.
- Click on CORS Settings.
- Add the domain URL(s) of your website where the bot will be embedded. For example, if your site is hosted on
www.example.com, you would add this URL to the list of allowed CORS domains. - Save the changes.
5. Add Domain URL on Settings ⇒ Site ⇒ ESW_DeploymentName_Number
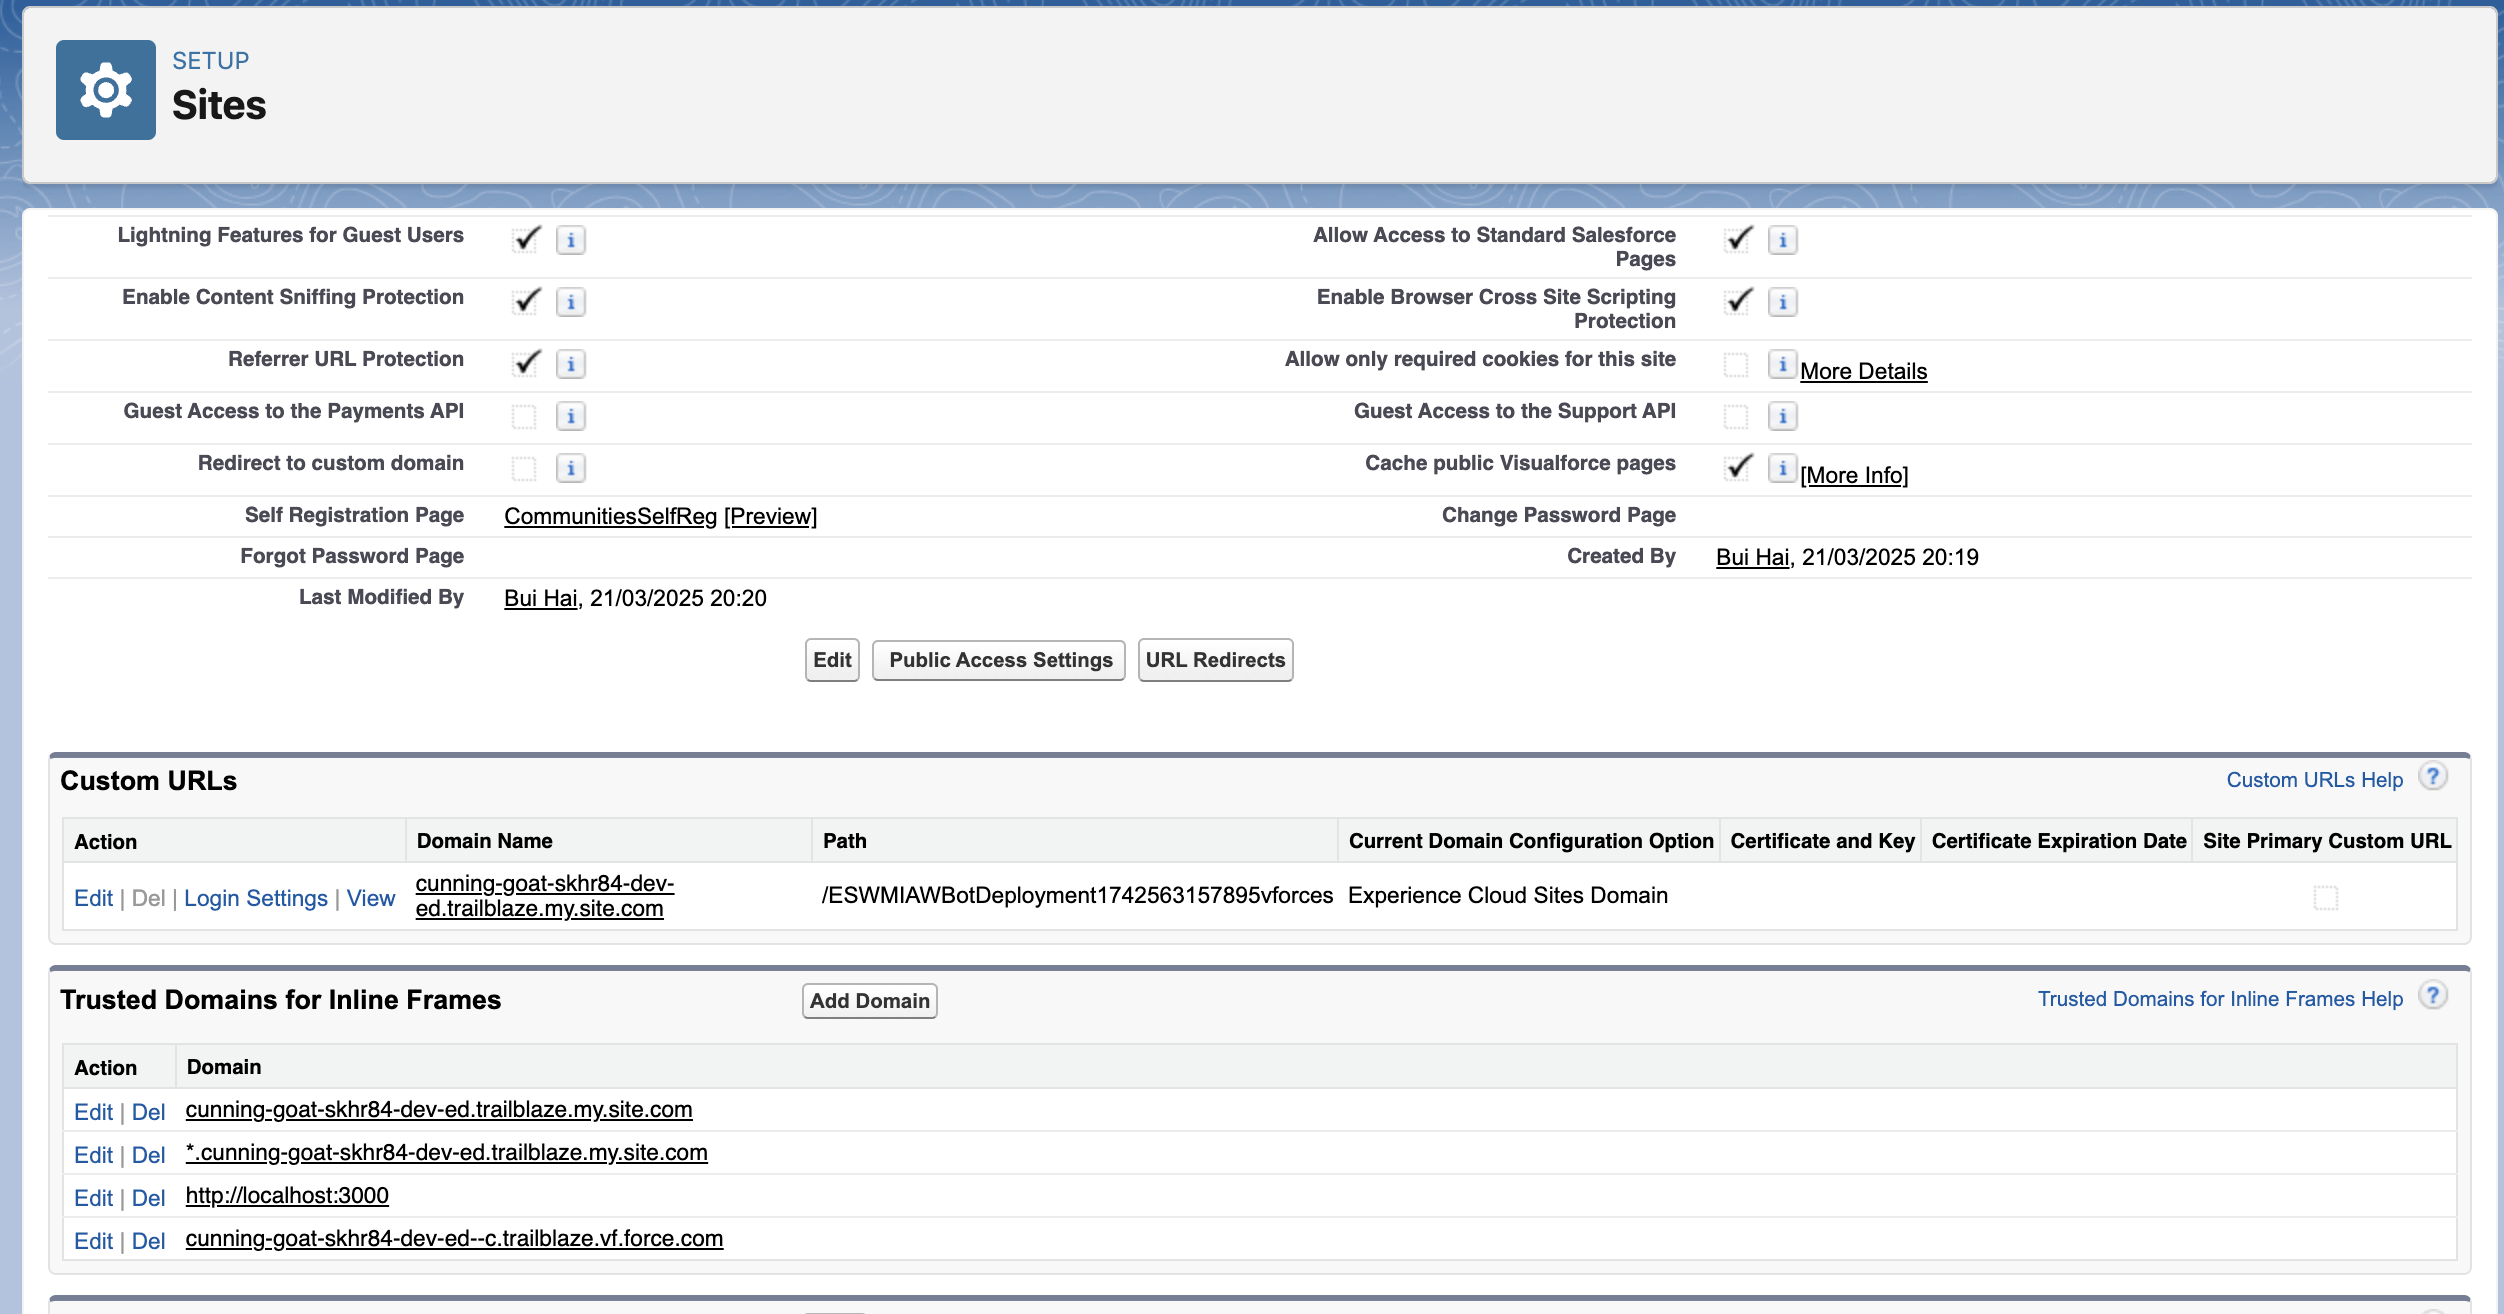
Next, configure the trusted domain URL to allow the bot to work seamlessly within the iframe of your website.
- Go to Setup and search for "Sites".
- Find the Site that will host the bot and click on the Site Name.
- Under Embedded Service Settings, find the section for Trusted Domains for Inline Frames.
- Add the domain URL of your website where the Einstein Bot button will appear. This ensures that the bot can be embedded securely without any issues.
- Save your changes.
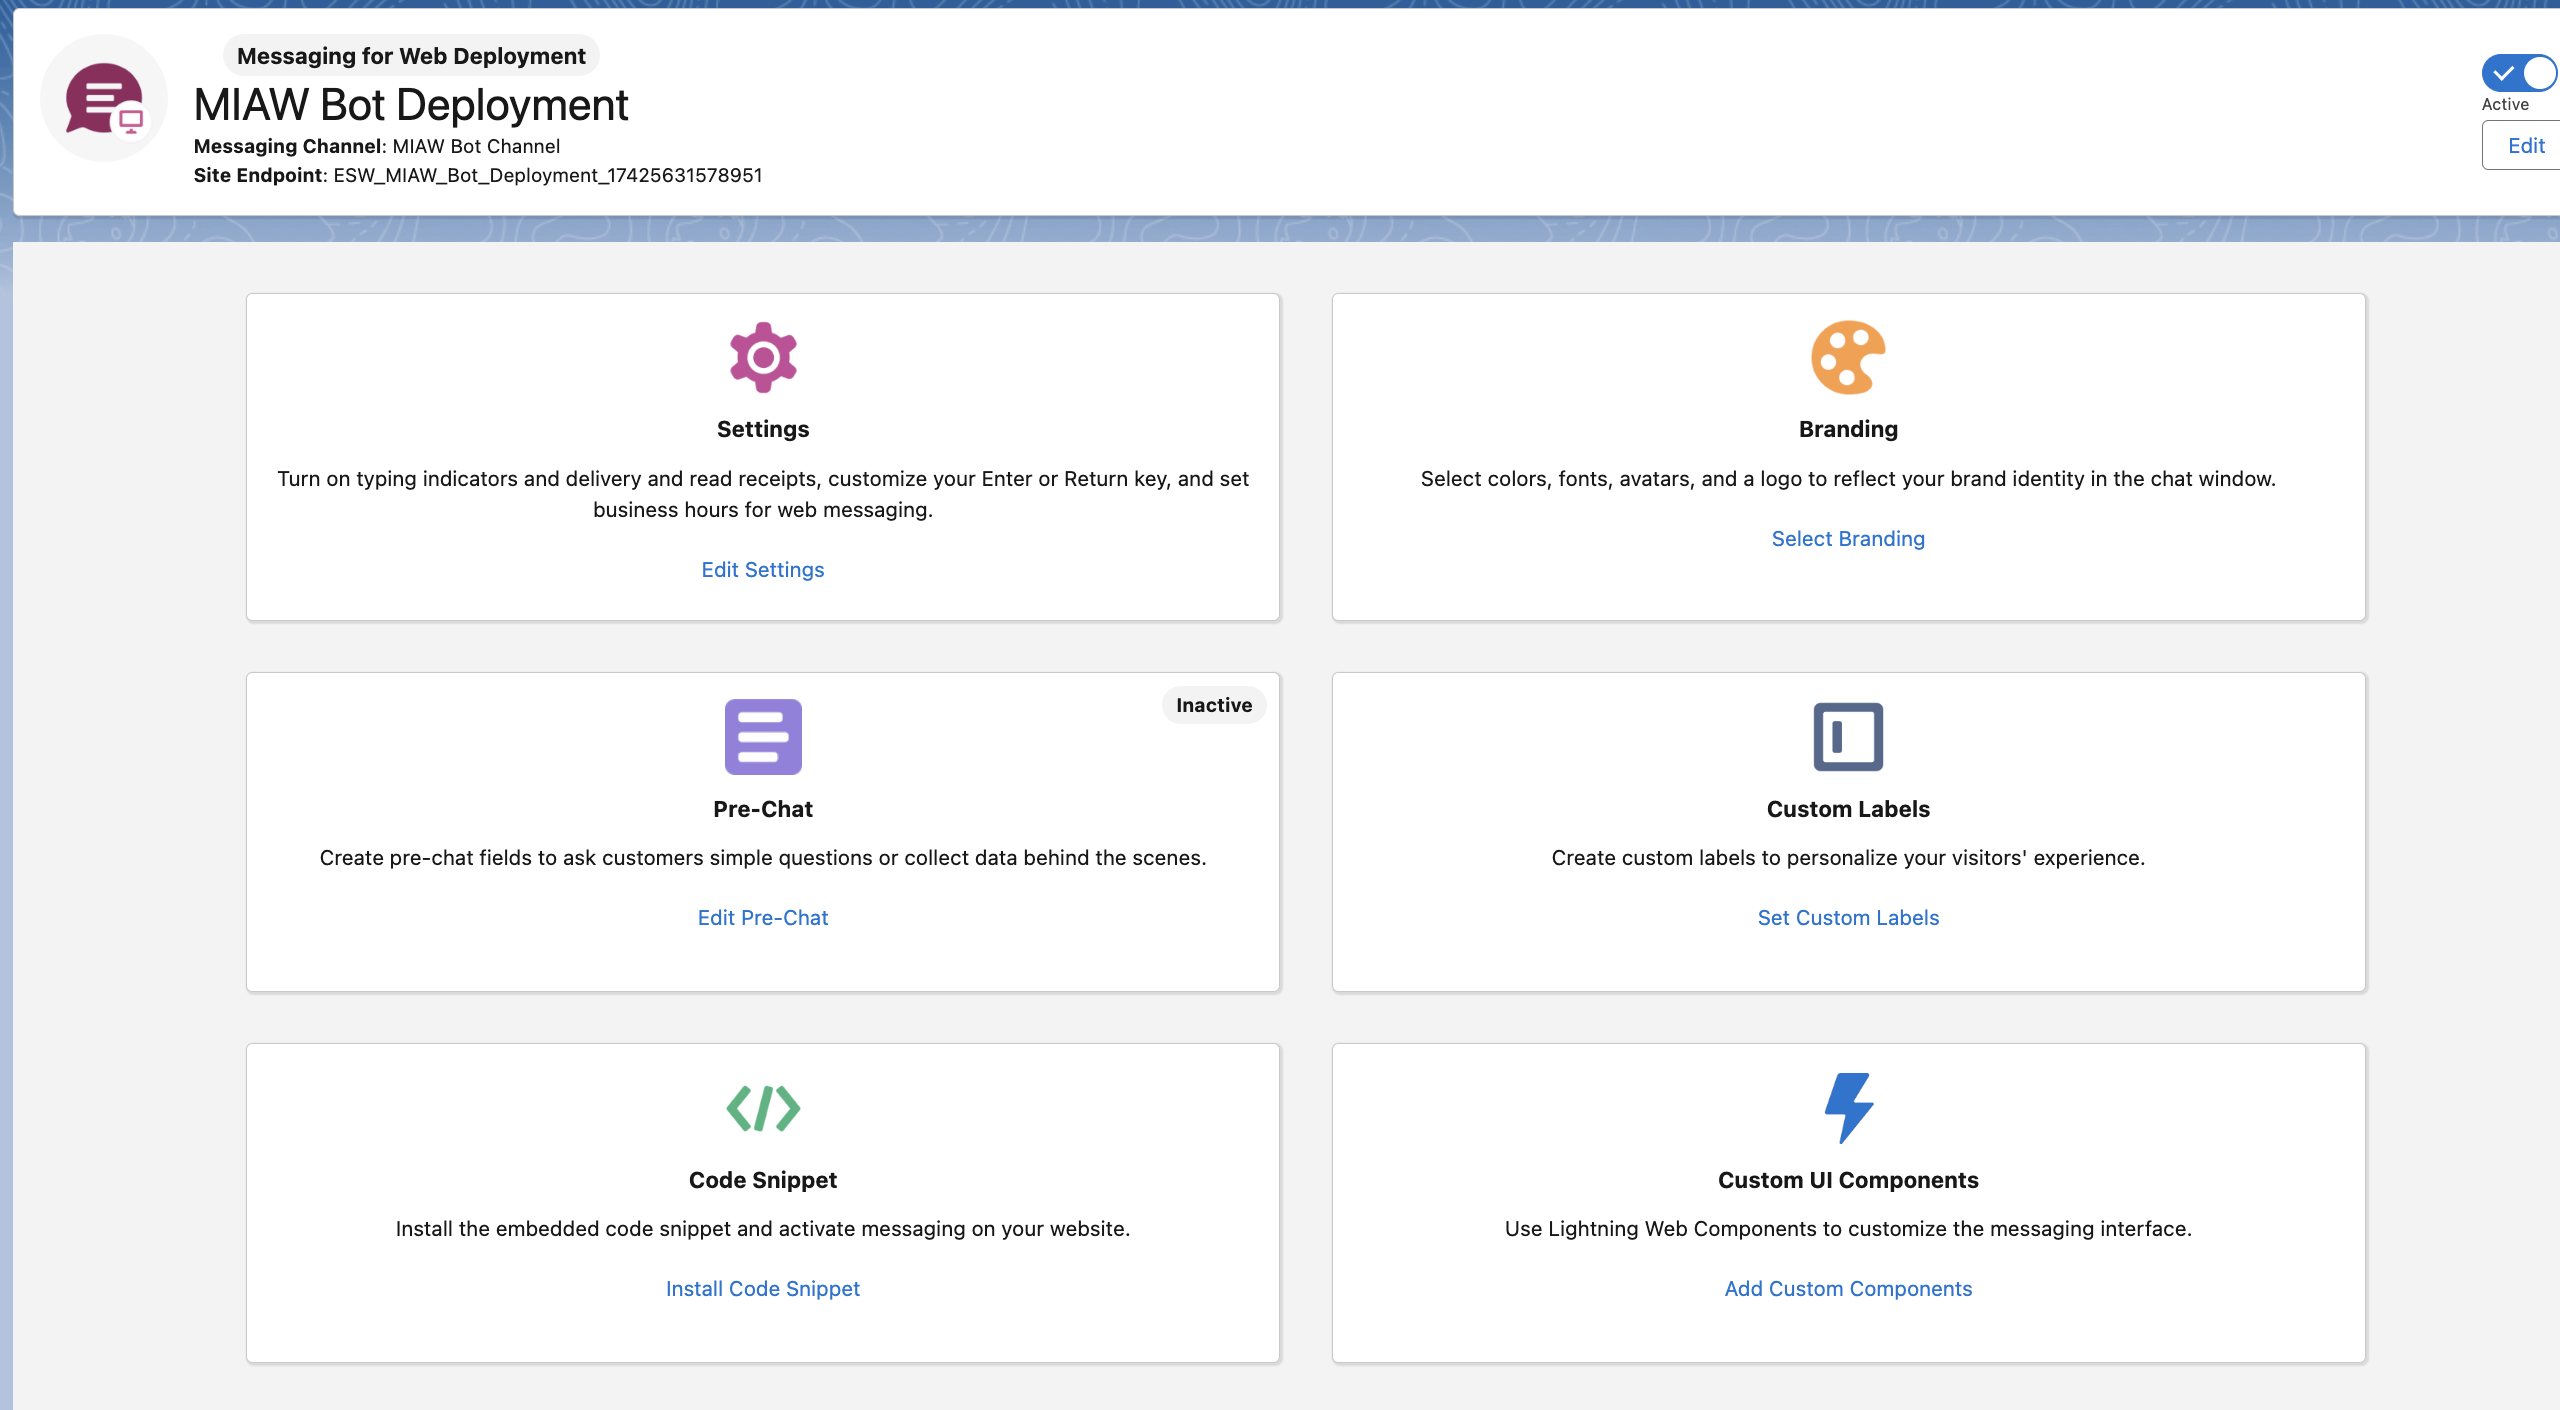
6. Get the Code Snippet for Web Deployment
Now that your bot is configured and the necessary domains are added, it’s time to get the code snippet that you need to install on your website.
- Navigate to Messaging for Web Deployment under your Einstein Bot setup.
- You’ll see a button or link that allows you to Get Code Snippet. Click it.
- Copy the code snippet. It will look something like this:
<Script
  type='text/javascript'
  src="https://cunning-goat-skhr84-dev-ed.trailblaze.my.site.com/ESWMIAWBotDeployment1742563157895/assets/js/bootstrap.min.js"
  onLoad={() => {
    try {
      const configs = {
        deploymentId: "00DdL00000Agdd0",
        devName: "MIAW_Bot_Deployment",
        ESWDomain: "https://cunning-goat-skhr84-dev-ed.trailblaze.my.site.com/ESWMIAWBotDeployment1742563157895",
        SCR_URL: "https://cunning-goat-skhr84-dev-ed.trailblaze.my.salesforce-scrt.com",
      };

      embeddedservice_bootstrap.settings.hideChatButtonOnLoad = false;
      embeddedservice_bootstrap.settings.language = 'en_US';
      embeddedservice_bootstrap.init(
        configs.deploymentId,
        configs.devName,
        configs.ESWDomain, {
          scrt2URL: configs.SCR_URL
        }
      );

      /*window.addEventListener("onEmbeddedMessagingReady", () => {
        console.log("Inside Prechat API!!");
        embeddedservice_bootstrap.prechatAPI.setHiddenPrechatFields({ "URL_LANGUAGE": 'en_US' });
      }); */
    } catch (err) {
      console.error('Error loading Embedded Messaging: ', err);
    }
  }}
>
</Script>
7. Install the Code Snippet on Your Website
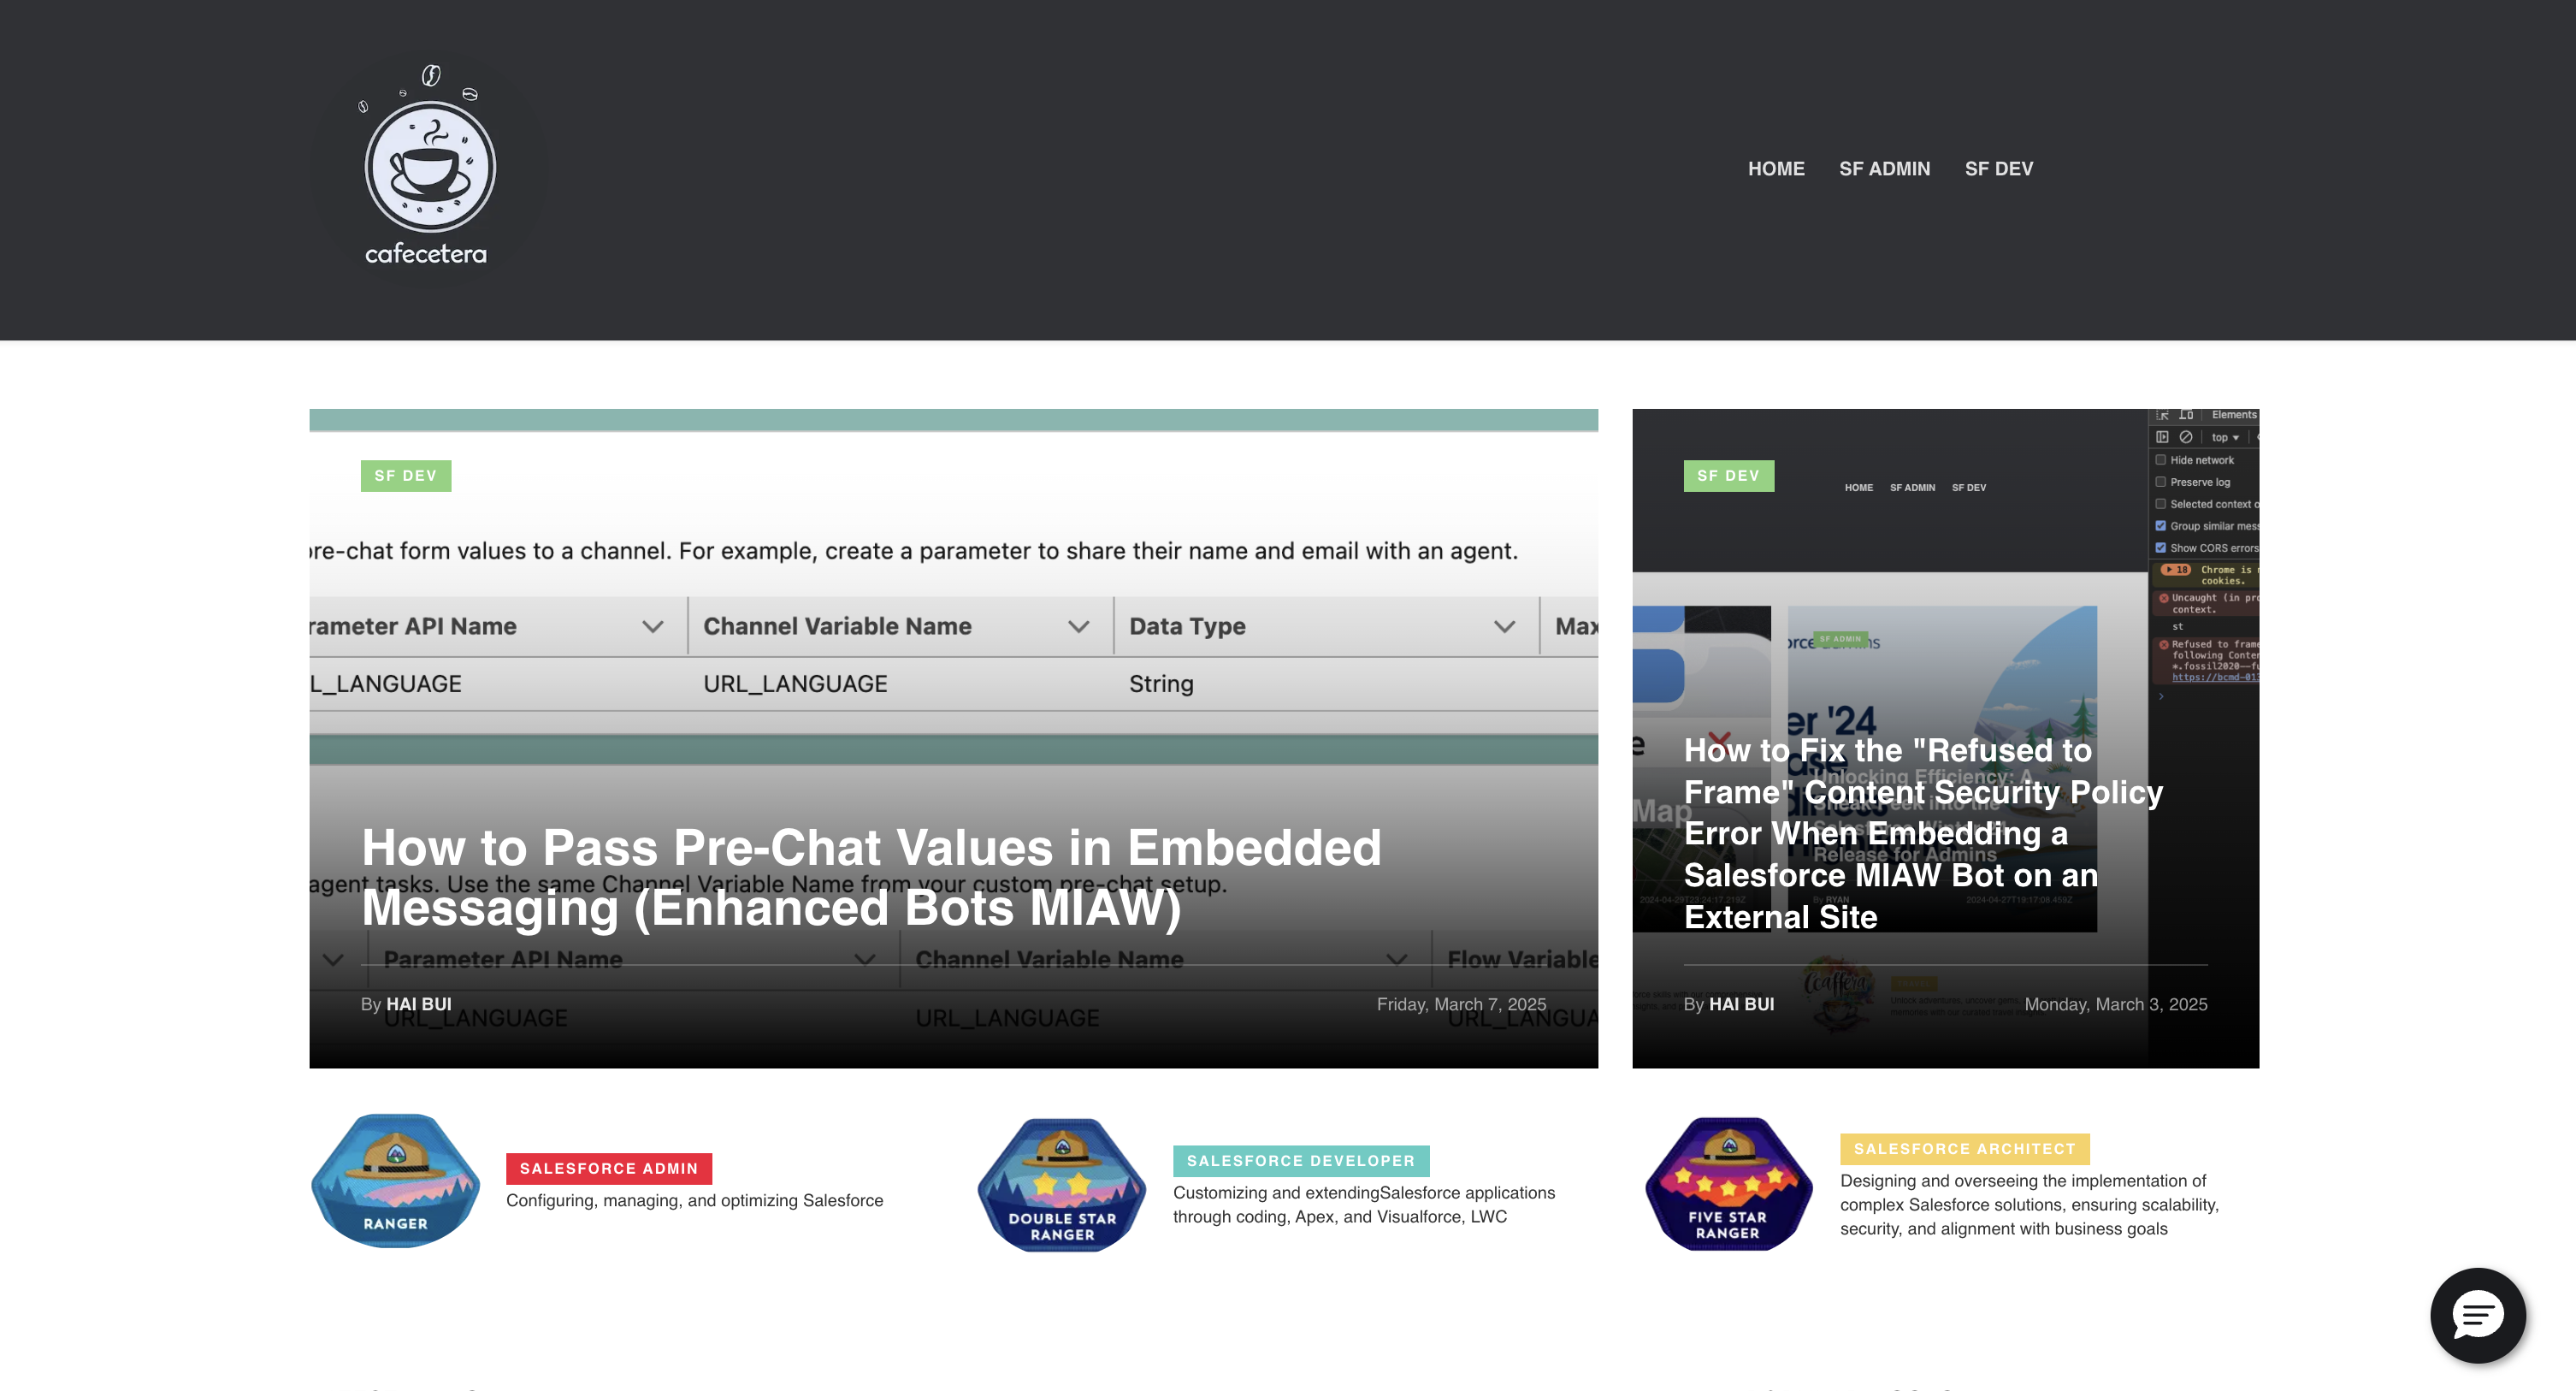
Now, the final step is to install the code snippet you obtained in the previous step to display the bot button on your website.
- Open the HTML code of the webpage where you want the Einstein Bot button to appear.
- Paste the code snippet you copied earlier into the
<body>section of your HTML file. - Ensure that the necessary JavaScript libraries and any other required resources are loaded from Salesforce correctly.
- Save the changes to your webpage and refresh your site.



Loading...